Images are everywhere today. From social media profiles and online stores to websites and blogs, visuals play a major role in how content is viewed and understood. One common requirement across many platforms is the square image format. That is why learning how to resize image to square properly is such an important skill, especially for beginners. If you upload images regularly and want them to look neat, professional, and consistent, this guide will help you understand everything in a simple and practical way.
In this detailed article, you will learn what it really means to resize image to square, why square images are so widely used, and how you can do it step by step without confusion. This guide is written in easy language, with clear explanations, so even if you are completely new to image editing, you can follow along comfortably.
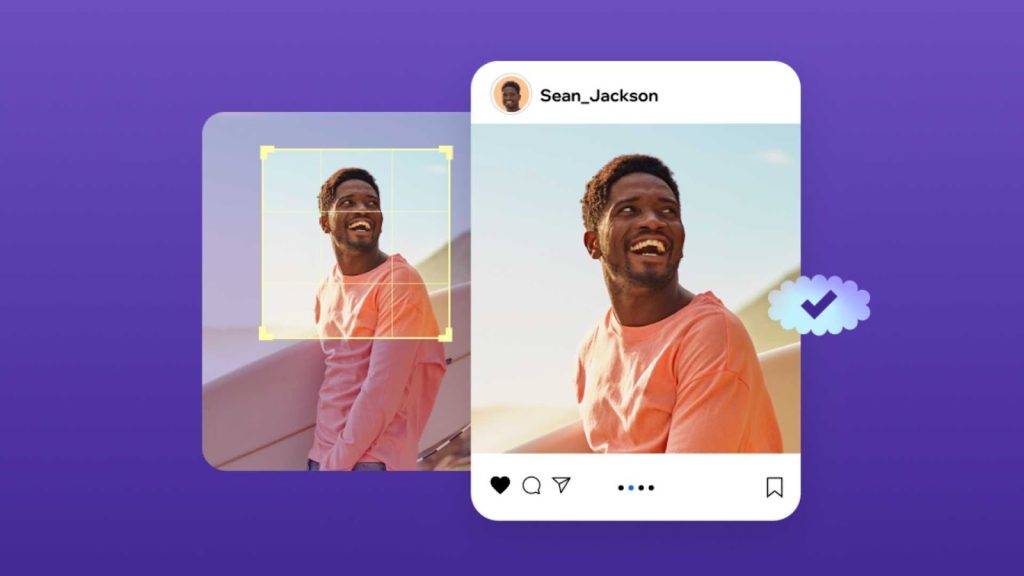
What Does Resize Image to Square Mean?
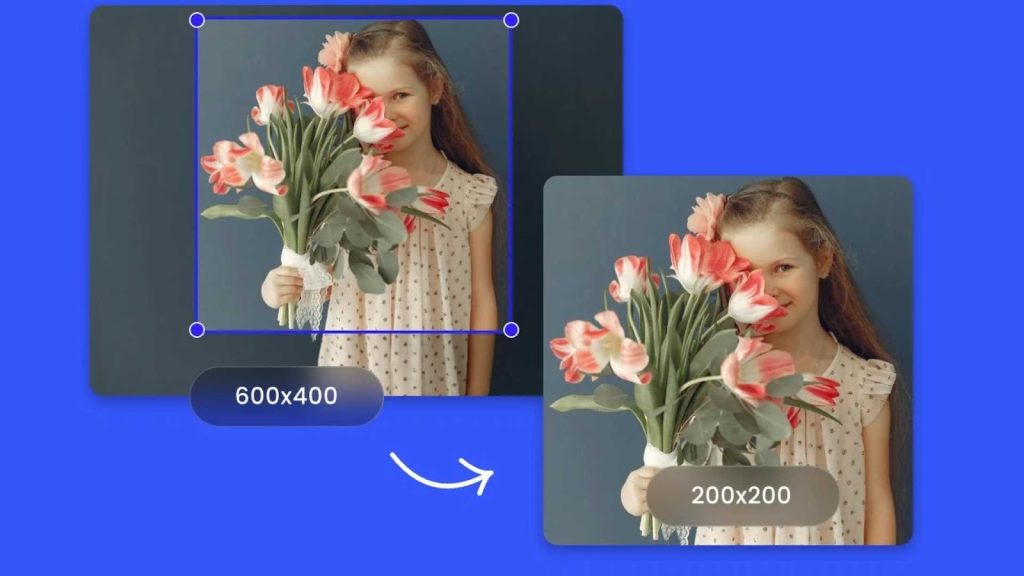
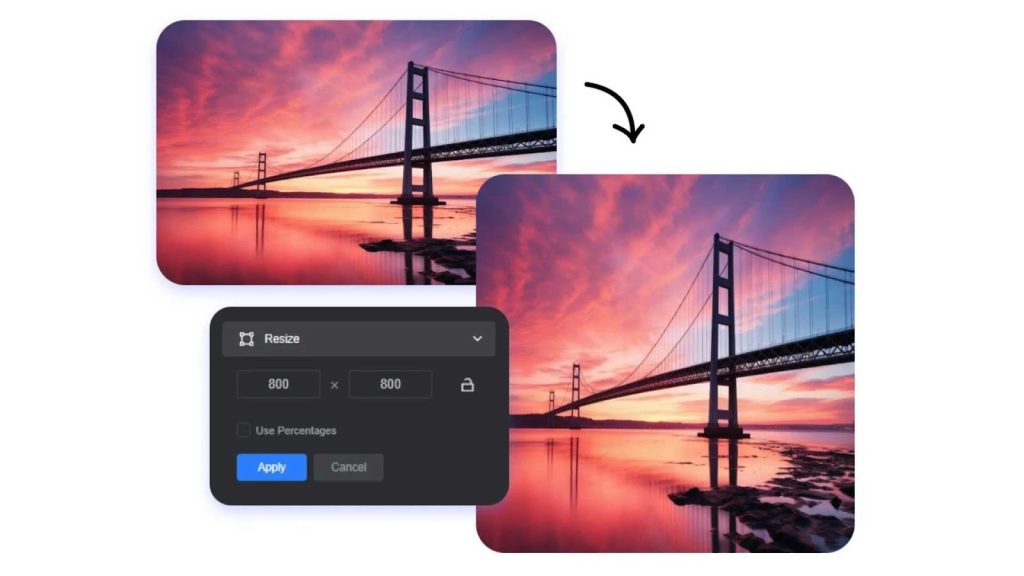
When people talk about resize image to square, they usually mean adjusting an image so that its width and height are exactly the same. For example, an image that is 800 by 800 pixels or 1000 by 1000 pixels is considered a square image. The actual size does not matter as much as the equal proportions.
Many images taken by cameras or smartphones are rectangular. Some are wide, and others are tall. When you resize image to square, you either crop part of the image or resize it carefully so that the final result fits into a square shape without looking stretched or distorted.
For beginners, this process may sound technical, but in reality, it is quite simple once you understand the basic idea. The key is to maintain visual balance while fitting your image into a square frame.
Why Square Images Are So Popular
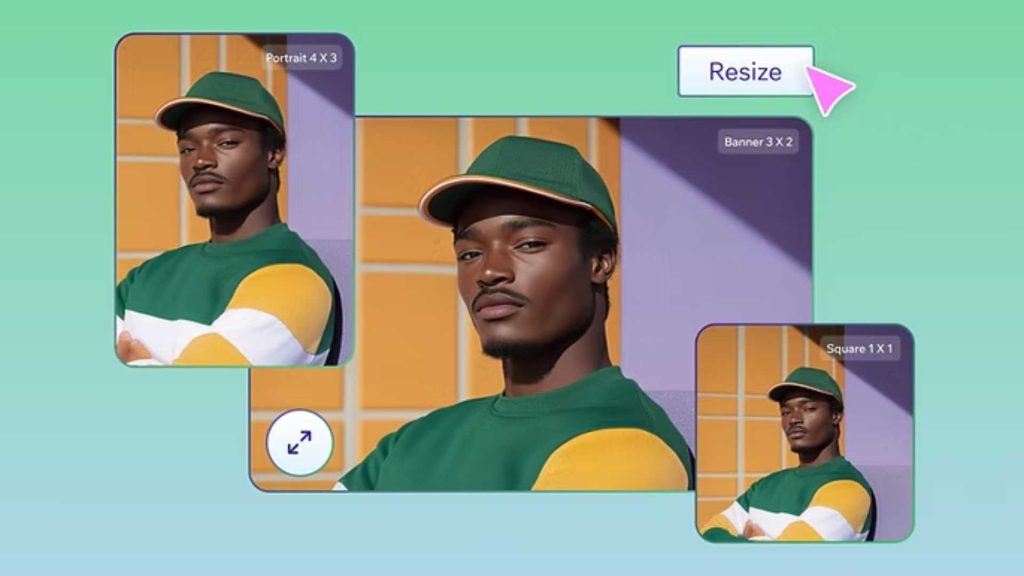
Square images have become extremely popular over the years, and there are several reasons behind this trend. Social media platforms like Instagram, Facebook, and LinkedIn often display profile pictures and thumbnails in square formats. E-commerce platforms also prefer square product images because they create a clean and uniform look.
When you resize image to square, your visuals fit better into grids and layouts. Square images are easier to align, easier to preview, and easier for users to view on both desktop and mobile devices. They also help maintain consistency across a website or social media feed.
Another important reason is compatibility. Square images are less likely to be cropped unexpectedly by platforms. When you upload a rectangular image, some parts may be cut off automatically. By choosing to resize image to square yourself, you stay in control of how your image looks.
Common Situations Where You Need to Resize Image to Square
There are many everyday situations where you might need to resize image to square. Profile pictures are one of the most common examples. Most platforms display profile images in a square or circular frame, and a poorly sized image can look awkward or incomplete.
Product photos for online stores also benefit from square dimensions. When all products are displayed in the same shape, the store looks more professional and organized. Blog thumbnails, portfolio images, and app icons are other examples where square images are often required.
Even personal use cases, such as printing photos or creating digital albums, sometimes require you to resize image to square for better presentation. Understanding this process saves time and prevents frustration.
Understanding Image Dimensions Before Resizing
Before you resize image to square, it helps to understand a little about image dimensions. Images are measured in pixels, with width and height values. A photo that is 1200 by 800 pixels is wider than it is tall, while a photo that is 800 by 1200 pixels is taller than it is wide.
To resize image to square, you need to make both sides equal. This can be done by cropping the longer side or by adding space around the image. Cropping is more common because it keeps the focus on the main subject, but it must be done carefully.
Beginners often worry about losing important parts of an image. That is why planning the crop and choosing the right square area is essential. A good resize image to square process always keeps the main subject centered and visible.
Resize Image to Square Without Losing Quality
One of the biggest concerns people have is quality loss. When you resize image to square incorrectly, the image may become blurry or pixelated. This usually happens when images are stretched or resized too aggressively.
To avoid this, it is important to start with a reasonably high-resolution image. When you crop instead of stretch, you preserve the original sharpness. Many tools today also use smart algorithms to help maintain clarity during resizing.
If you are unsure about the technical side, professional image editing services like Graphics Revive can handle resizing while preserving quality. You can learn more about image editing support at graphicsrevive, where image adjustments are done with attention to detail.
Resize Image to Square on Windows for Beginners
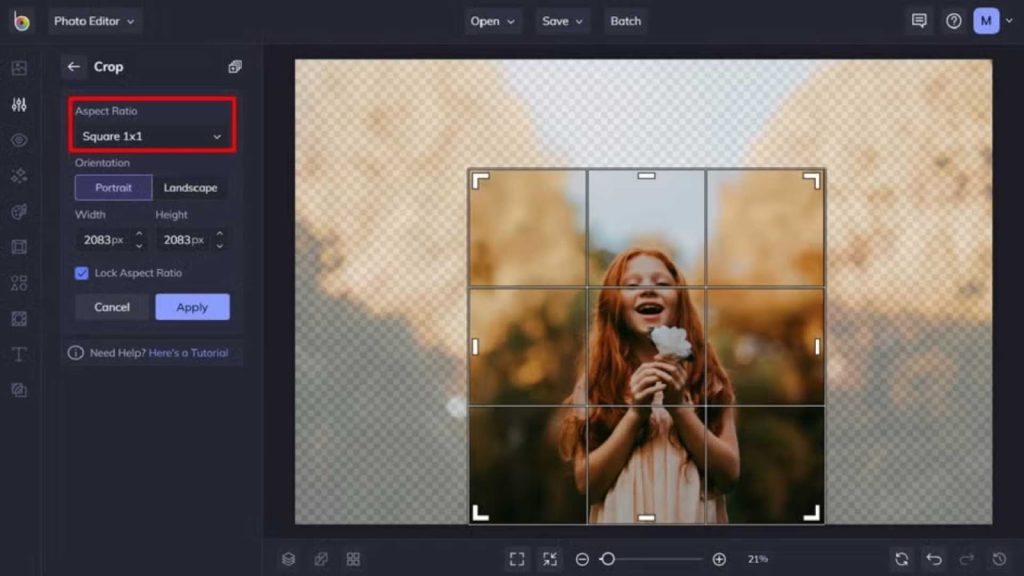
On Windows, you can resize image to square using built-in tools or simple third-party software. The basic Photos app allows you to crop images into square shapes easily. You simply open the image, select the crop option, choose a square ratio, and adjust the frame.
For beginners, this method is straightforward and does not require advanced knowledge. However, it is important to preview the image carefully before saving. Make sure the subject remains centered and no important details are cut off.
If you need more control, free editing tools offer additional options such as precise pixel sizes and preview modes. These tools make it easier to resize image to square consistently for multiple images.
Resize Image to Square on Mac Step by Step
Mac users can resize image to square using the Preview app. Preview is a powerful yet simple tool that comes preinstalled. You open the image, select the crop tool, choose a square selection, and adjust it over the image.
Once you apply the crop, you can resize the image further if you need a specific pixel size. This makes Preview an excellent option for beginners who want quick results without downloading extra software.
Again, the key is to focus on composition. When you resize image to square, always check how the final image looks visually, not just technically.
Resize Image to Square Using Online Tools
Online tools are very popular because they work directly in your browser. You do not need to install anything, and most of them are beginner-friendly. Many online editors allow you to upload an image, select a square ratio, and download the result within seconds.
These tools are ideal for quick tasks and occasional use. However, you should be cautious about uploading sensitive images. Always choose reputable platforms. If you work with images frequently or for business purposes, using a trusted service is important.
Graphics Revive also offers professional image editing services for those who want perfect results without manual effort. You can explore their services at https://graphicsrevive.com/image-editing-services to see how experts handle resizing and cropping tasks.
Common Mistakes When You Resize Image to Square
Beginners often make a few common mistakes when they resize image to square. One mistake is stretching the image instead of cropping it. This causes distortion and makes the image look unnatural.
Another mistake is ignoring the focal point. When you crop without planning, important elements like faces or products may be partially cut off. Always adjust the square frame thoughtfully.
Saving the image in the wrong format or at very low quality is another issue. After you resize image to square, make sure to save it in a suitable format such as JPEG or PNG with proper quality settings.
Best Practices for Resize Image to Square
To get the best results, always work with the highest quality image available. Plan your crop before applying it, and zoom in to check details. Take your time, especially if the image is important.
Consistency is also important. If you are resizing multiple images, use the same square dimensions for all of them. This creates a uniform and professional appearance.
When in doubt, professional help can save time. Services like Graphics Revive specialize in image editing and resizing, ensuring that your images look polished and platform-ready.
When Manual Resizing Is Not Enough
While many beginners can resize image to square using basic tools, there are situations where manual resizing is not enough. Complex images, large volumes, or high branding standards often require expert attention.
For example, fashion products, jewelry, and high-end items need precise cropping and background control. Real estate and food images also demand careful composition when resized to square. In these cases, small mistakes can affect how professional the image looks.
This is where professional image editing services provide value. Graphics Revive specializes in handling detailed image adjustments, including square resizing, while preserving quality and visual appeal. Their experience ensures that images meet platform standards and brand expectations.
Learning Through Practice
The best way to master how to resize image to square is through practice. Start with simple images and experiment with different crops. Compare results and notice how small changes affect the final look.
Over time, you will develop an eye for balance and composition. What feels difficult at first becomes intuitive. The more images you work with, the more confident you become.
Remember that there is no single perfect crop for every image. Context matters. A square image for a profile picture may need a different approach than one for a product listing.
Final Thoughts on Resize Image to Square
Learning how to resize image to square is a valuable skill for anyone working with digital images. Whether you are a student, content creator, business owner, or beginner exploring image editing, this knowledge helps you present visuals more effectively.
Square images are widely used because they are versatile, consistent, and visually appealing. By understanding the basics, avoiding common mistakes, and applying best practices, you can create square images that look clean and professional.
If you ever feel limited by tools or time, professional support is always an option. Graphics Revive offers reliable image editing services designed to help individuals and businesses achieve polished results without stress. Visit graphicsrevive to explore how their services can support your image needs.
By combining basic skills with expert assistance when needed, you can confidently resize image to square for any purpose and ensure your visuals always make a strong impression.
