Learning How to Resize an Image on Gimp is one of the first and most important skills for anyone working with digital images. Whether you are a small business owner preparing product photos, a content creator optimizing images for a website, or someone simply trying to resize personal photos for social media, resizing images correctly makes a huge difference in quality and professionalism.
Many beginners feel intimidated when they open GIMP for the first time. The interface can look complex, and it is not always clear which option to choose for simple tasks. The good news is that once you understand How to Resize an Image on Gimp, the process becomes simple, fast, and extremely flexible. GIMP is a powerful free tool, but it also has limits, especially when you need consistent, high-quality results for business or commercial use.
In this guide, I will walk you through How to Resize an Image on Gimp step by step, using clear explanations and beginner-friendly language. You will also learn when resizing in GIMP is enough and when professional image editing services like Graphics Revive can save you time, protect image quality, and deliver polished results that help your brand stand out.
Why Image Resizing Matters More Than You Think
Resizing an image is not just about making it smaller or larger. It directly affects how sharp your image looks, how fast your website loads, and how professional your content appears. If you resize an image incorrectly, you may end up with blurry visuals, stretched proportions, or pixelated results that harm your credibility.
When people search for How to Resize an Image on Gimp, they are usually trying to solve a real problem. They may need images for an online store, blog posts, social media ads, or client presentations. In commercial settings, poorly resized images can reduce trust and lower conversion rates.
GIMP gives you control over resolution, dimensions, and scaling methods. Understanding these options ensures that your images look clean and balanced across different platforms. Still, mastering these details takes time, which is why many businesses eventually turn to professional services like Graphics Revive for reliable, high-quality image editing at scale.
What Is GIMP and Why Beginners Choose It
GIMP, which stands for GNU Image Manipulation Program, is a free and open-source image editing software. It is often compared to Photoshop because it offers advanced features such as layers, masks, filters, and color correction. One of the main reasons beginners look up How to Resize an Image on Gimp is because GIMP is free and works on Windows, macOS, and Linux.
For basic image resizing, GIMP is more than capable. You can resize entire images, scale individual layers, and adjust resolution for web or print. However, because GIMP is feature-rich, beginners sometimes feel overwhelmed. That is why a clear, step-by-step approach makes all the difference.
Preparing Your Image Before Resizing in GIMP
Before you start learning How to Resize an Image on Gimp, it is important to prepare your image properly. Open GIMP and load your image using the file menu. Once the image is open, take a moment to look at its current size and resolution. This helps you understand what changes are actually needed.
If your image is already edited with layers, be aware that resizing the entire image will affect all layers. For beginners, it is usually best to resize the whole image rather than individual elements unless you have a specific design goal in mind. Taking a moment to plan before resizing can prevent quality loss later.
How to Resize an Image on Gimp Using Image Scale
The most common method when learning How to Resize an Image on Gimp is using the Image Scale option. This method resizes the entire image, including all visible layers.
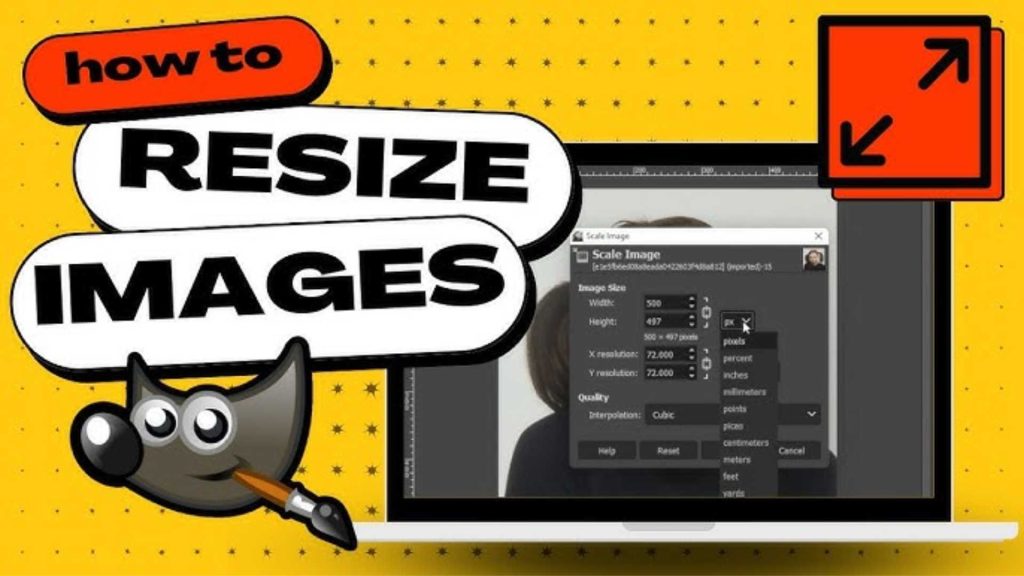
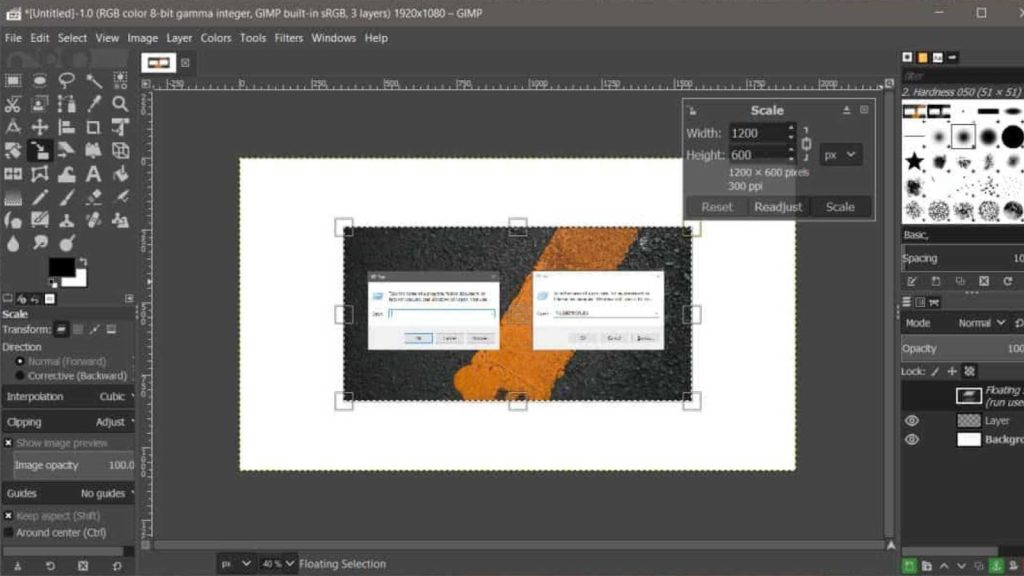
In GIMP, you can access this option from the top menu by selecting Image and then choosing Scale Image. A dialog box will appear showing the current width and height of your image. You can change these values to your desired dimensions.
One important thing to notice here is the small chain icon next to the width and height fields. When this chain is linked, GIMP maintains the aspect ratio of your image. This prevents stretching and distortion. For beginners, keeping the aspect ratio locked is highly recommended.
Below the size settings, you will see an interpolation option. This setting controls how GIMP calculates new pixels during resizing. For most beginners, choosing a high-quality interpolation option results in smoother and cleaner images. Once everything looks correct, you can apply the changes, and GIMP will resize the image instantly.
Understanding Resolution While Resizing in GIMP
Many people who search for How to Resize an Image on Gimp get confused between image size and resolution. Image size refers to the pixel dimensions, such as width and height. Resolution refers to how many pixels are displayed per inch, usually measured in DPI.
For web use, resolution changes do not significantly affect how an image looks on screen. What matters most is pixel dimensions. For print use, resolution becomes very important because it affects print quality.
In GIMP’s image scale dialog, you can adjust both size and resolution. Beginners working on websites or social media can usually focus on pixel dimensions alone. For print projects, careful resolution settings are essential, and this is where professional services like Graphics Revive can help ensure print-ready results without trial and error.
How to Resize an Image on Gimp Without Losing Quality
One of the biggest concerns beginners have when learning How to Resize an Image on Gimp is quality loss. While resizing always changes pixel data, there are ways to minimize visible damage.
Reducing image size usually produces better results than enlarging it. When you make an image larger, GIMP has to create new pixels, which can lead to softness or blur. Choosing the right interpolation method helps, but it cannot fully replace missing detail.
If you need images resized regularly for commercial use, maintaining consistent quality can be challenging. This is one reason many businesses prefer Graphics Revive. Our image editing services focus on preserving sharpness, correct proportions, and visual consistency across all platforms.
Resizing Images for Different Commercial Uses
Different platforms require different image sizes, and understanding How to Resize an Image on Gimp helps you meet those requirements. Website images need to balance quality and file size to ensure fast loading. Social media images require specific dimensions to avoid cropping or compression issues. E-commerce product images must look clean, detailed, and professional to build trust.
While GIMP allows manual resizing for each platform, this can become time-consuming. Graphics Revive specializes in handling these requirements efficiently. We resize, optimize, and enhance images based on platform standards, saving you hours of repetitive work and reducing the risk of mistakes.
When GIMP Is Enough and When You Need Professional Help
For beginners and small projects, learning How to Resize an Image on Gimp is often enough. GIMP is a powerful tool, and with practice, you can achieve good results. However, as your needs grow, manual resizing becomes less practical.
If you are running an online store, managing large image libraries, or producing marketing materials regularly, consistency and quality become critical. This is where Graphics Revive adds real value. Our professional image editing services go beyond resizing. We handle background removal, retouching, color correction, and image optimization with a focus on commercial impact.
Why Businesses Choose Graphics Revive for Image Editing
Graphics Revive is designed for individuals and businesses that want reliable, high-quality image editing without the learning curve. While tutorials on How to Resize an Image on Gimp are helpful, they require time, experimentation, and technical understanding.
At Graphics Revive, we offer fast turnaround times, experienced editors, and consistent results. Our team understands how images affect branding, sales, and user experience. Whether you need images resized for a website, marketplace listings, or advertising campaigns, we deliver results that look polished and professional.
Our services are especially useful for businesses that want to focus on growth instead of spending hours adjusting image dimensions and quality settings. With Graphics Revive, you get peace of mind knowing your visuals are handled by experts.
Comparing DIY Resizing in GIMP vs Professional Services
Learning How to Resize an Image on Gimp gives you control and flexibility, but it also comes with limitations. You are responsible for quality control, consistency, and technical decisions. Mistakes can cost time and affect your brand image.
Professional services like Graphics Revive eliminate these risks. We use advanced tools and proven workflows to ensure every image meets commercial standards. This comparison matters for users with commercial intent who are deciding whether to do it themselves or outsource.
Final Thoughts on How to Resize an Image on Gimp
Understanding How to Resize an Image on Gimp is a valuable skill for beginners and professionals alike. GIMP offers powerful features that allow you to resize images for various purposes, from personal projects to business use. With the right approach, you can achieve clean and accurate results.
However, resizing images consistently and professionally takes time and experience. If you find yourself resizing images frequently or need flawless results for commercial use, Graphics Revive is here to help. Our image editing services are designed to support your workflow, enhance your visuals, and help your brand make a strong impression.
Whether you choose to learn How to Resize an Image on Gimp or rely on expert support, the key is ensuring your images always look their best. With the right tools and the right partner, high-quality visuals are always within reach.
