If you use a Mac and work with images regularly, you’ve probably felt the pain of resizing photos over and over again. Maybe you’re preparing product photos, blog images, social media content, or client galleries. Doing it manually is slow and boring. This is exactly where a Resize Image Automator setup on macOS becomes incredibly useful.
On a Mac, you can use the built-in Automator app to create a custom Quick Action that resizes images for you in just a couple of clicks. Many people call this kind of workflow a Resize Image Automator because it automatically resizes images right from Finder, without needing to open a heavy editor every time. Once you set it up, you can right-click any image (or a whole folder of images), choose your Quick Action, and let macOS do the resizing in the background.
In this guide, you’ll learn what a Resize Image Automator really is on Mac, how to set it up step by step, clever ways to use it in your daily work, and how it can work together with professional image editing services like Graphics Revive.
What Is Resize Image Automator on Mac?
On macOS, Automator is a built-in app that lets you create small workflows that perform repetitive tasks automatically. One of the most popular workflows is a Resize Image Automator Quick Action, which lets you resize images directly from the Finder context menu.
You are not installing a separate app called “Resize Image Automator.” Instead, you are building your own resize tool using Automator. You can name it something like “Resize Image” or “Resize for Web”, and it will show up in Quick Actions or Services when you right-click on an image.
So when we talk about Resize Image Automator in this article, we mean:
A custom Automator Quick Action on macOS that automatically resizes one or more selected images according to your chosen settings.
It’s simple, fast, and once you’ve created it, it stays there forever, ready to use whenever you need it.
Why Use a Resize Image Automator Instead of Manual Resizing?
Without a Resize Image Automator, you might:
- Open each image in Preview, Photoshop, or another editor
- Resize it manually
- Export or save it
- Repeat this for every single file
This is fine for two or three images, but it becomes painful when you’re dealing with dozens or hundreds. A Resize Image Automator solves this by letting you:
- Resize images directly from Finder
- Apply the same size to a whole batch
- Keep a consistent look across your content
- Save time for the creative work instead of repetitive tasks
If you are running an online shop, managing a blog, or working in an agency, this kind of automation quickly becomes a normal part of your workflow. Once your Resize Image Automator is configured, resizing becomes a two-click action instead of a whole series of menu steps.

How to Set Up a Resize Image Automator Quick Action (Step by Step)
Let’s go through how to actually create a Resize Image Automator using Automator on your Mac. This only needs to be done once. After that, it’s always available.
1. Open Automator and Create a New Quick Action
First, open the Automator app on your Mac. You can find it in your Applications folder or by using Spotlight search.
- When Automator opens, choose “New Document”.
- Select “Quick Action” (on some macOS versions this might be labeled “Service / Quick Action”).
This tells Automator that you want to create a small tool that appears in the Finder right-click menu.
2. Set the Workflow to Receive Image Files
At the top of the Automator window, you’ll see something like “Workflow receives current” or “Service receives selected”. Change this to:
- Workflow receives current: Image files
- In: Finder
This tells your Resize Image Automator that it should only run when you select image files in Finder.
3. Add the “Scale Images” Action
On the left side, there’s a library of actions.
- In the Library search field, type “Scale Images”.
- Drag the “Scale Images” action into the workflow area on the right.
A warning may pop up asking if you want to add “Copy Finder Items” first, so your originals are preserved. You have two choices:
- Don’t Add: Your Resize Image Automator will resize the actual original files.
- Add: Automator will first make copies, then resize the copies while leaving your originals untouched.
For safety, especially when you’re getting started, it’s usually better to add “Copy Finder Items”. That way your Resize Image Automator workflow is non-destructive.
4. Choose the Resize Value
In the Scale Images action, you’ll see a box where you can enter a size in pixels.
This will typically be the width in pixels. For example:
- 640 px for small web images
- 1080 px for social media posts
- 2048 px for large but still web-friendly images
Type your preferred size. This will become the default behavior of your Resize Image Automator. You can always create multiple Automator workflows later for different sizes like “Resize to 1080px” or “Resize to 2048px”.
5. Save Your Resize Image Automator
Once your workflow is set up:
- Go to the File menu.
- Click “Save”.
- Give it a clear name, for example: “Resize Image 1080px” or “Resize Image for Web”.
Now your Resize Image Automator Quick Action is ready to use.
How to Use Your Resize Image Automator from Finder
After saving, you don’t have to open Automator again every time. Your Resize Image Automator lives in the Finder context menu now. Here’s how to use it:
- Open Finder.
- Select one or more images you want to resize.
- Right-click (or control-click) on your selection.
- Go to Quick Actions (or Services, depending on macOS version).
- Choose your Resize Image Automator by the name you gave it, such as “Resize Image 1080px”. Beebom
Automator will run in the background and resize your images automatically according to your settings. If you added Copy Finder Items, you’ll see resized copies in the folder you chose in that action.
You can also assign a keyboard shortcut through System Settings → Keyboard → Keyboard Shortcuts → Services/Quick Actions, then find your Resize Image Automator and add a custom shortcut.
Practical Ways to Use Resize Image Automator in Real Workflows
A Resize Image Automator is not just a “cool trick”; it can be part of a serious workflow. Here are some realistic ways to use it every day.
For Bloggers and Content Creators
If you run a blog, you probably upload images for every post. With a Resize Image Automator, you can:
- Standardize all featured images to the same width
- Make sure inline images are optimized for your blog layout
- Keep file sizes small enough to keep pages loading fast
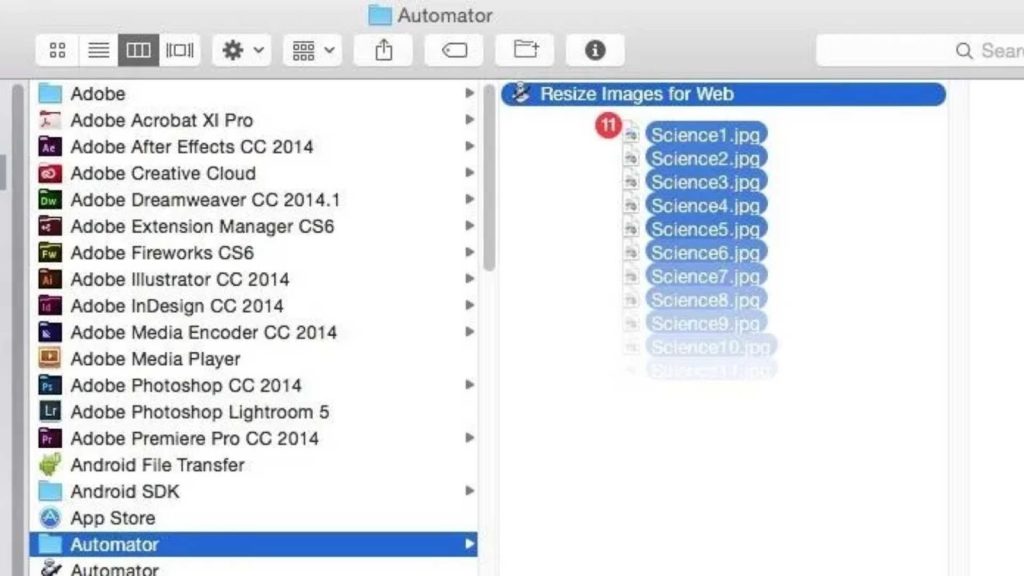
Your routine becomes simple: drop your edited images into a folder, select them, run your Resize Image Automator, and then upload.
For eCommerce and Product Photography
Online stores need consistent product photos. A Resize Image Automator helps you:
- Export all product images in the same size, like 1000×1000 or 1200×1200
- Quickly prepare alternate views and detail shots
- Keep your catalog looking clean and professional
This is especially powerful when combined with professional editing and retouching.
For Social Media Managers
Each platform has its own recommended dimensions. You can create multiple Resize Image Automator workflows, such as:
- Resize Image – Instagram Post
- Resize Image – Instagram Story
- Resize Image – Pinterest Pin
- Resize Image – Facebook Cover
Then, when you’re batch-creating content, you just right-click and choose the matching Quick Action. No need to remember all the ideal size numbers each time.
For Client Deliveries and Portfolios
If you’re a photographer or designer, you might:
- Deliver full-resolution files for print
- Deliver web-resolution files for online use
Your Resize Image Automator can produce the web version for you. You keep your master files safe, and your clients get fast-loading, shareable images.
Advanced Ideas for Your Resize Image Automator
Once you’re comfortable, you can expand your Resize Image Automator workflows.
Multiple Sizes with Different Quick Actions
You can create several different Automator workflows:
- Resize Image Automator – 800px
- Resize Image Automator – 1080px
- Resize Image Automator – 2048px
Each shows up separately in Quick Actions, letting you choose the perfect size depending on the situation.
Non-Destructive Work with Copy Finder Items
If you didn’t add Copy Finder Items before, you can edit your workflow and add it. That way:
- Originals stay untouched
- Resized images go into a specific folder like “Resized” or “For Web”
- Your Resize Image Automator becomes safer for large client libraries
Combining with Other Actions
Automator can do more than just resize. You can extend your Resize Image Automator to:
- Rename files according to pattern (for example: “product-001-web.jpg”)
- Change file type (e.g., from PNG to JPEG)
- Add metadata
This turns your Resize Image Automator into a mini-pipeline that handles basic prep before you send images to clients, upload to your store, or publish online.
When Resize Image Automator Is Not Enough
Even though Resize Image Automator is powerful, it doesn’t replace professional image editing. It’s great for:
- Resizing
- Basic format changes
- Quick automation of repetitive tasks
But it doesn’t do:
- Detailed retouching
- Complex color correction
- Background removal or ghost mannequin work
- High-end product enhancement
That’s where a dedicated editing team like Graphics Revive comes in. You can think of Resize Image Automator as the “last step” for size and export, while professional editing happens before that.
How Graphics Revive Complements Your Resize Image Automator
At Graphics Revive, image editing is the core focus. While your Resize Image Automator handles the automatic resizing on your Mac, our team can take care of the deeper, more creative work such as:
- Product photo retouching
- Color correction and enhancement
- Background cleanup or replacement
- Preparing images for eCommerce platforms
- Bulk editing with consistent style across your catalog
A powerful way to build a modern workflow is:
- Send your raw or unpolished images to Graphics Revive for editing and enhancement.
- Receive clean, ready-to-use images from our team.
- Use your Resize Image Automator on Mac to quickly resize those images for different platforms and use cases.
This combination gives you the best of both worlds: automation for speed and a professional team for quality.
You can learn more about our services by searching for Graphics Revive Image Editing Service in your browser and exploring our website. There you’ll find details about pricing, turnaround times, and the types of projects we handle.
Final Thoughts
A Resize Image Automator on macOS is one of the simplest ways to save time and keep your visual content consistent. Instead of resizing each picture manually, you build a small Automator Quick Action once and then use it whenever you like, right from the Finder menu.
By integrating a Resize Image Automator into your daily routine, you:
- Work faster
- Reduce errors
- Keep your images nicely optimized
- Free up mental energy for creative decisions instead of repetitive tasks
And when you need truly polished visuals-especially for eCommerce, product catalogs, or branding-Graphics Revive is ready to help. Let your Resize Image Automator handle the size, and let Graphics Revive handle the style, quality, and professional finish.
